
0
$0.00
0 items

The good news is that there is no shortage of photo editing applications, the bad news is that most of them are total overkill for the task at hand. Adobe Photoshop for instance is an incredible bit of software and one that I started using eight years before my 20-year old son was born. As good as Photoshop is, however - when it comes to drone photos - it is like doing your weekly grocery shop in a Bugatti Veyron. If you're a photographer that takes photographs with a drone then an application like Luminar AI (or the forthcoming Luminar Neo) are a much more sensible option.
Now the great thing about Luminar AI is that it offers one-click processing. So if you'd rather be out taking cool shots, than sitting in front of a computer, it's a good option. If you do want to drill down further into the image's processing settings then you can, but you'll often find that the software's Templating system does a pretty good job with no further intervention required.
By way of example, I thought I'd showcase a few before and after images, in which I simply used an appropriate template on one of my drone shots. I've chosen a selection of images covering regular day-time landscapes, seascapes and sunrise/sunset shots.
Let's start with a meat-and-potatos landscape shot. This is actually an image from a 360º pano I shot near Kangaroo Valley, which is perfect for our test since we have fields, trees, foliage, hills and some sky. When you open a photograph in Luminar it leverages its AI capabilities and comes up with a few suggestions as to which template you might like to use with it. In the case of this image the software suggested Easy Landscapes, Natural Scenery, Scenery and Moods of Summer. These are all default looks which come with the software, but you can buy add-on packs and these would appear here too if the software thought they'd be a good fit.
Within the Easy Landscapes template collection I have six options, catering to the kind of look I'm after. I was impressed with the fact that these aren't over-saturated Instagram-style filters that simply ramp up all the sliders to 11. In fact two of the templates - Clean Light and Forest Stream - actually desaturated the image slightly, to create a pleasing matt style shot with slightly crushed blacks.
In the shot below I went with the Long Exposure template. Comparing the before and after, we can see that the software's made a few changes to the image both in terms of colour and detail. For instance, it has increased detail in the clouds, such that they more much more defined now and it has also deepend the blues to really make those clouds pop. It's an effect similar to what you'd see if you used a polariser on your drone's camera. Similar definition and clarity tweaks have been made to the trees and there has also been some dehazing applied to the trees on the side of the hills in the background. Note also that there are no jarring edges in the image - the edge of the hills on the right already had some halo evident in the original RAW image and Luminar has done a good job avoiding ugly fringing.


All things being equal it's a great RAW conversion and I would be happy to leave the processing there. However if I did want to tweak any element of it, I can simply click on the Edit button and manually alter any of the settings in the Long Exposure template. For instance, to tone down the saturation applied to the fields, I can lower the Accent slider slightly. Alternatively I can tone down the whole template as one by using the main slider at the bottom of the editing panel until I arrive at the look I'm chasing.
My next example image was taken in Jervis Bay above Currumbene Creek in Huskisson and features some beautiful turquoise water and a white sand beach. In this case Luminar's analysis of the image suggest templates from the Overcast Collection, the Waterscapes Collection and the Easy Landscapes. I was puzzled by the first choice since it's clearly not an overcast day, but I tried the templates within and actually several of them were ideal for this image.


Of all the templates suggested for this image, the cleanest and most sympathetic was 'Soft Fix' in the Waterscapes collection, but for a more processed look for an Instagram feed, the 'Backlit Clouds' template in the Overcast Collection would be a solid choice. If we look at the changes made with Soft Fix however, we can see that it has largely left the colour of the water alone and simply accentuated the ripples in the water and applied a light dehaze to the water and sky. It's actually a really great edit that would be suitable for printing although I'd probably remove the vignette.
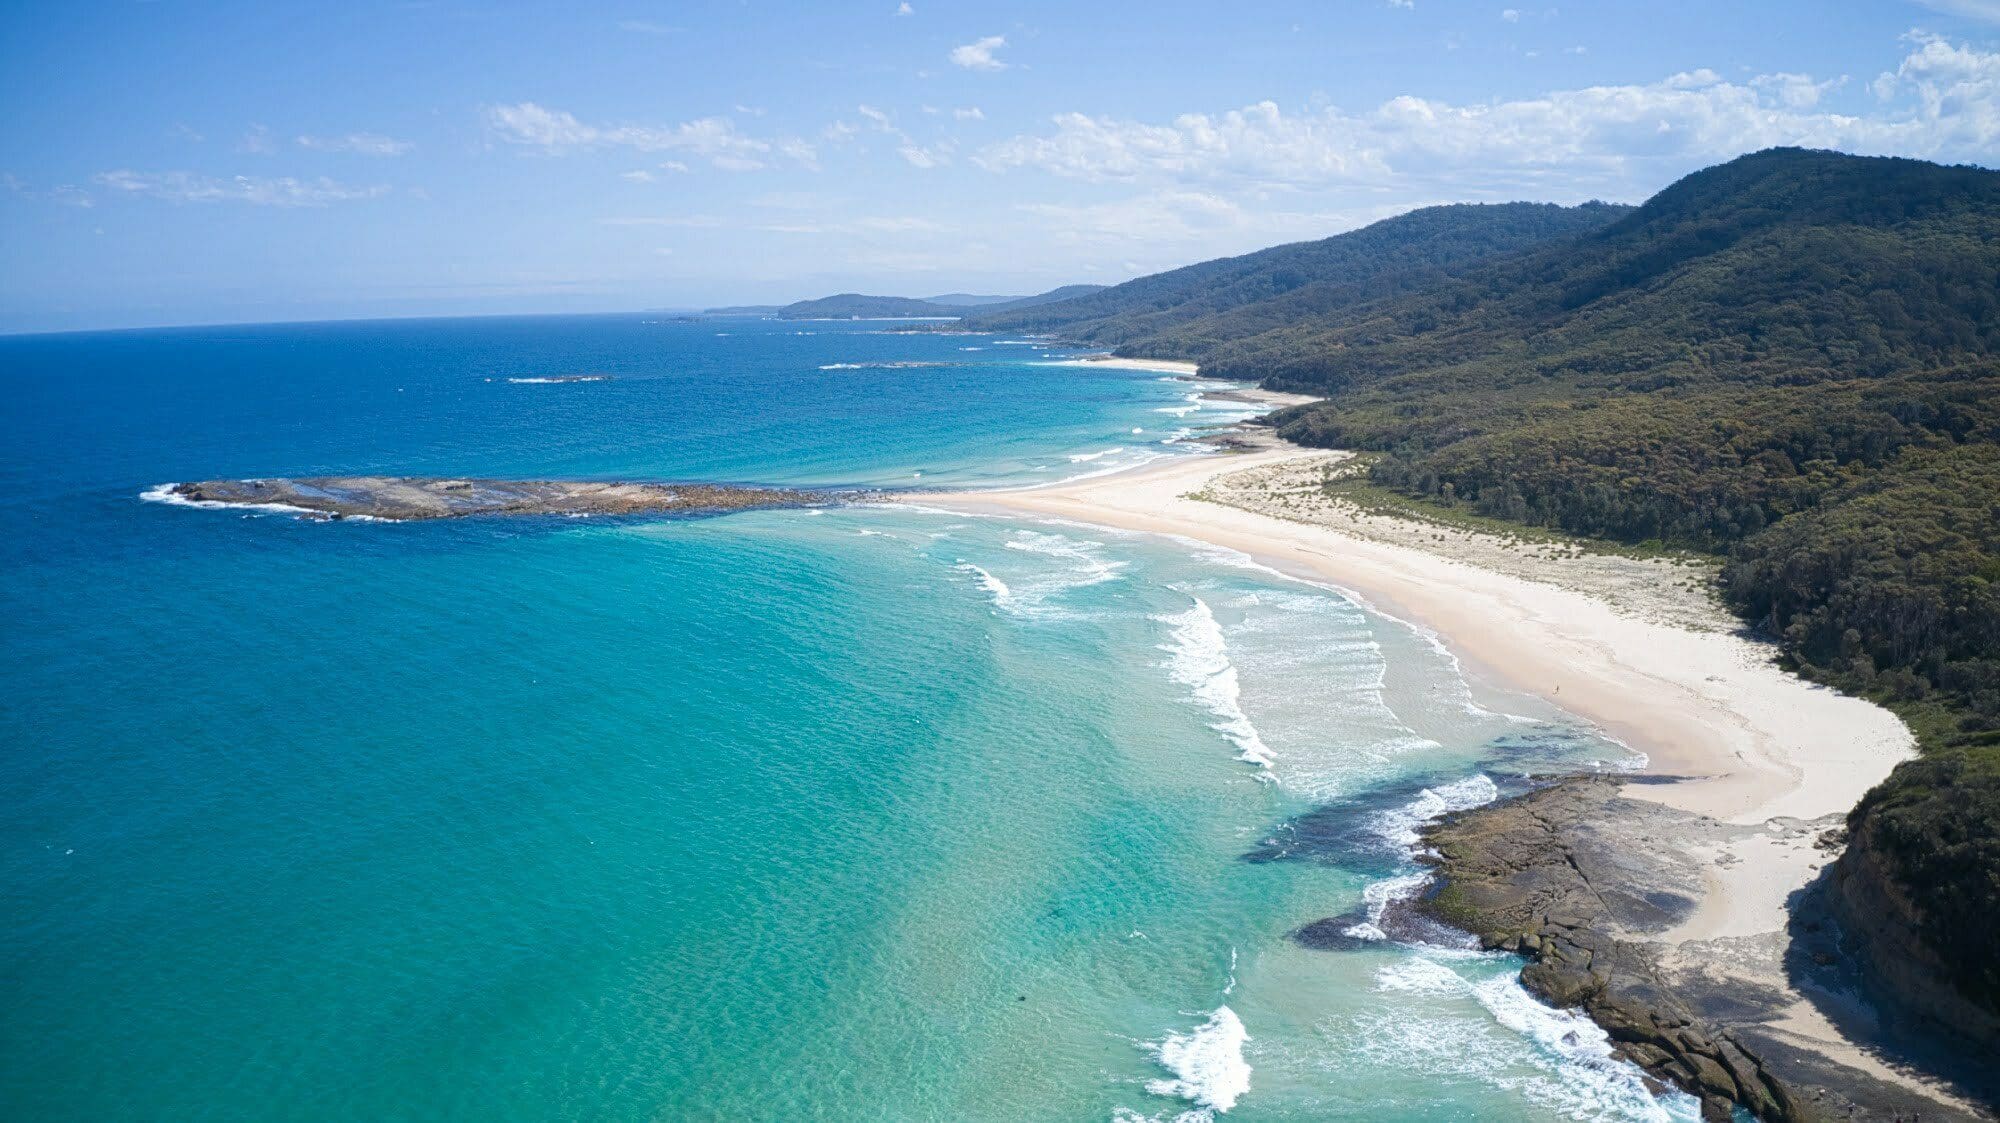
I'm not a huge fan of that very contrasty heavy HDR look as it seems quite unnatural, however the Dynamic Result template actually works well with my next example - an image of the coastline of the Murramurang National Park. It's a dramatic scene and the heavier contrast in the template actually works well, further enhancing the separation of the bush, the beach and the ocean. There's on obvious halos or banding where the mountains meet the sky and it hasn't gone crazy with the saturation.

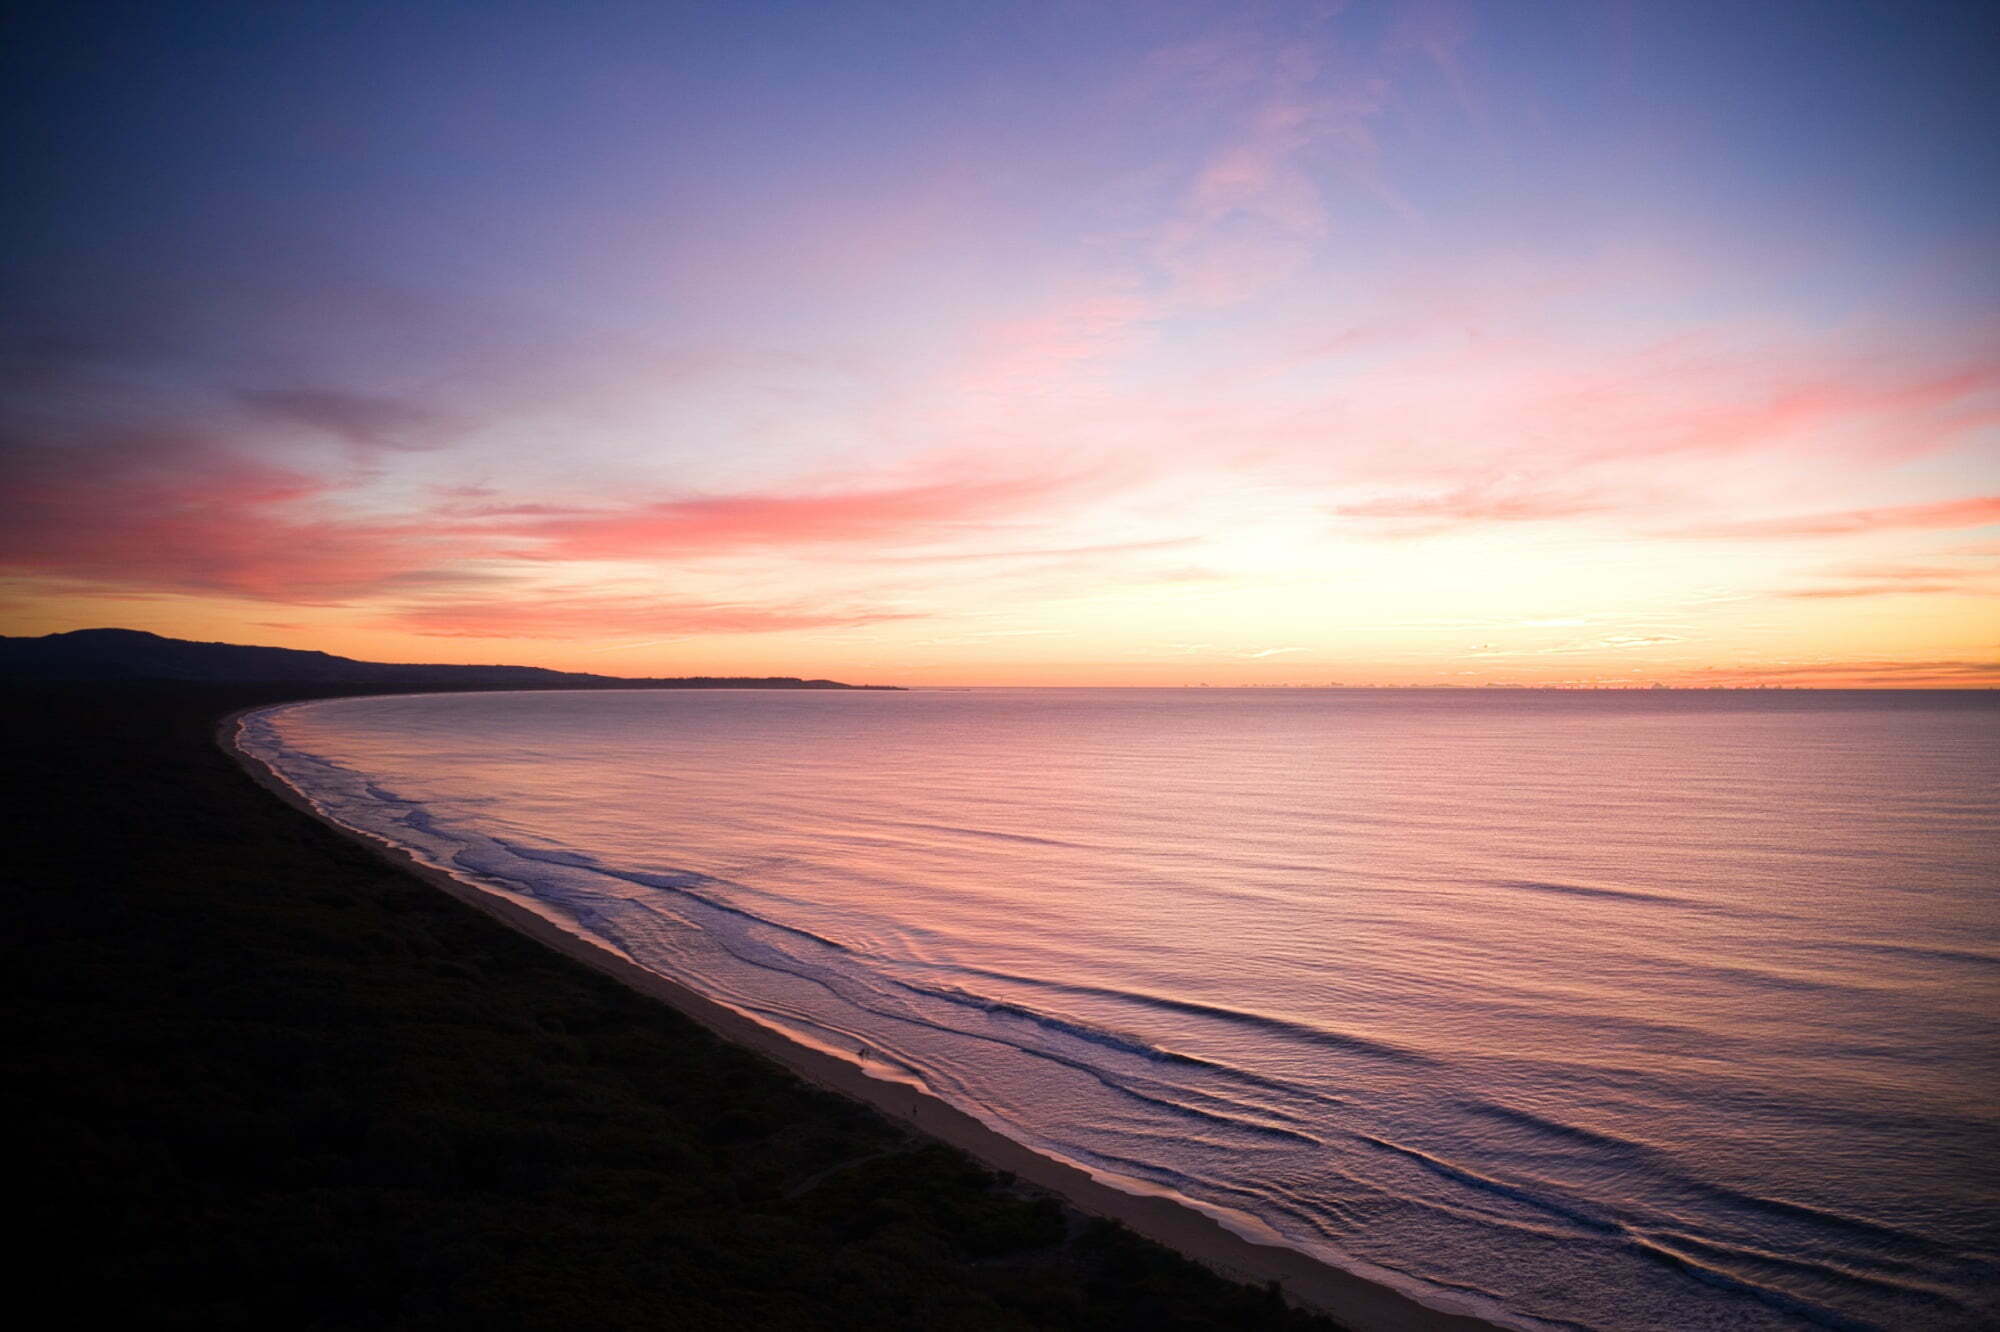
Moving onto the sunrise/sunset images and I really thought Luminar AI came into its own for these shots. The first image of Seven Mile Beach at sunrise is a tricky one to manually process due to the extremely vibrant colour palette and the wide dynamic range in the RAW file. The software suggested a landscape template and I felt that Long Exposure template nailed it pretty much immediately. The light dehaze worked well and didn't turn the small area of blue sky a violet shade as often happens when you use this particular slider in this software or any other. I cropped the image as well, to reduce the amount of beach and punch in on the sky and ocean.
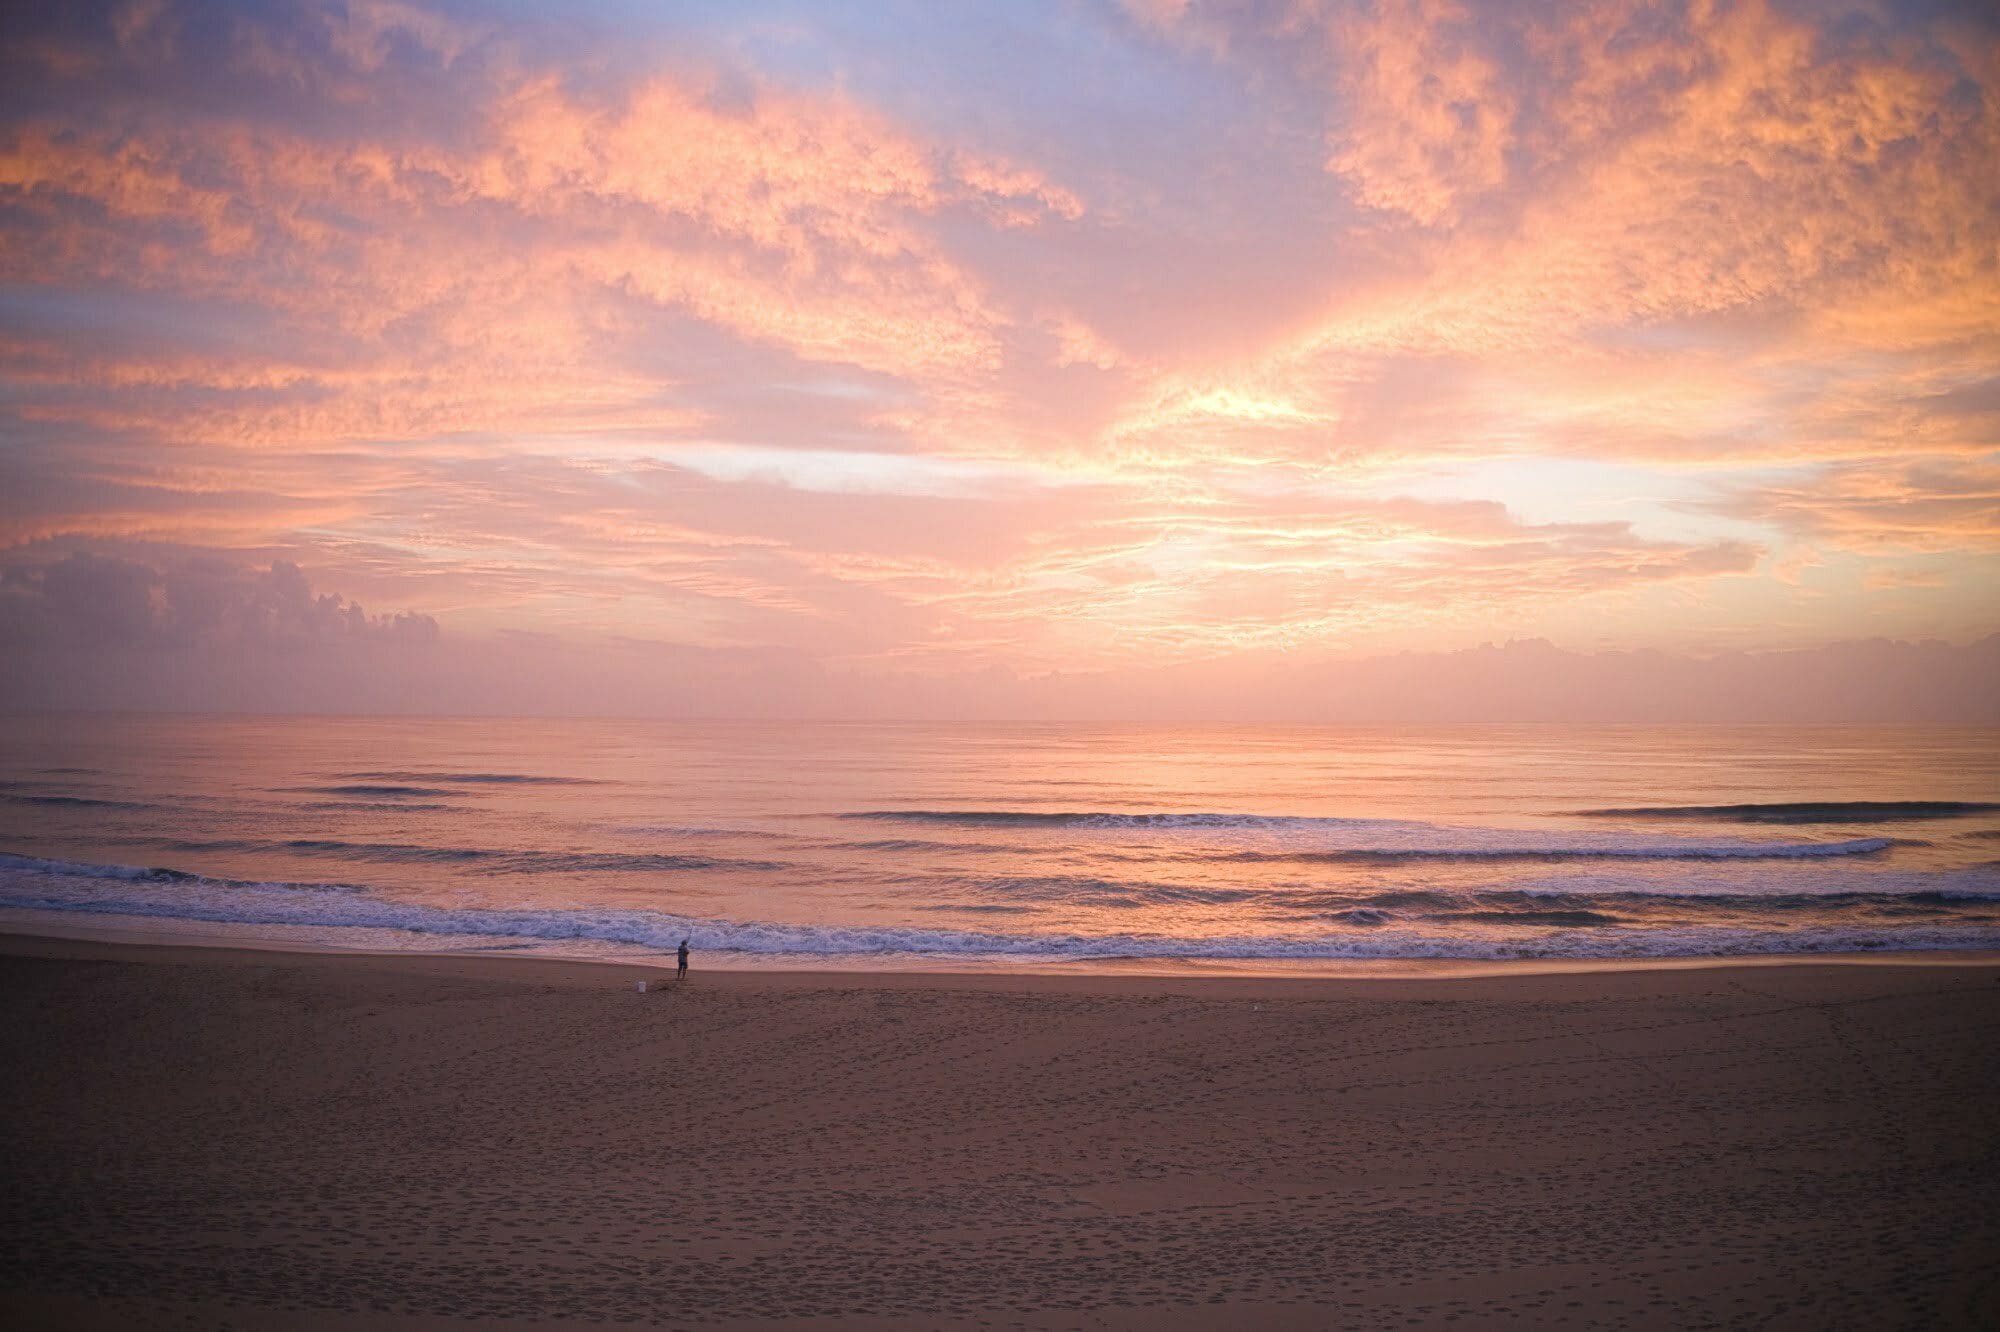

In my next example, a reverse sunrise shot, the problem here is about retaining the white in the surf, while enhancing the colour in the sky, without giving the whole image a lilac colour cast. Luminar suggested the Artistic Collection this time around and the Templates within were much more subtle than other options. My personal favourite however was the Forest Stream template in the Easy Landscapes collection as it accentuated the image in a natural way with a series of soft tweaks that would work well when printed.


My final image, a sunrise on Seven Mile Beach got a couple of interesting suggestions from Luminar. It suggested the Sunsets collection and all of the templates within required toning down as they were extremely saturated and, in two cases, swapped out the existing lovely sky for a bunch of boring cumulus clouds. The best result for this image was in the Scenery Collection and the Clear Skies template which accentuated the natural imagery without going crazy with saturation and clarity.

To conclude I'd say that Luminar AI was an excellent choice for drone photographers who don't have the time, inclination or money to spend on a package like Adobe Photoshop. If you just want to bring out the best of a RAW shot, then Luminar AI enables you to quickly hone in on a pleasing visual outcome which you can then tweak to meet your vision for that image. It takes a great deal of the hassle out of processing images and does so in a simple, linear way that, for the most part, avoids the often baffling terminology of the heavyweight photo editing suites. Skylum are preparing to release their new Neo editing software later this year with a feature-set that looks to further simplify the editing process with features like intelligent spot removal. Luminar AI is currently $64AUD and it's not subscription based so the software is yours forever.


