DeNoising – You’re Doing it Wrong
The subtle art of hanging onto some noise.
B
elieve it or not we’ve had AI denoising tools for about five years now and they’ve become so commonplace that we all use them without a second thought.
They have revolutionised post-processing by liberating photographers from the stress of trying to keep the ISO low enough not to turn our photos into glorified static. Because if we do have to shoot at very high ISOs, then A.I. will save the day and cleanse our photos like digital bleach.
But, with great power comes great responsibility.
And the simple fact of the matter is that we’re probably guilty of taking our denoising too far, of removing the natural ‘grit’ that makes a photo look real. What’s worse is that we’re not considering the final destination of our images. We’re applying the same noise reduction to everything—whether it’s bound for Instagram, our portfolio website, or a gallery print — when actually, each output demands a completely different approach. The dirty secret about noise reduction: you’re probably doing it wrong.
Before the arrival of A.I. – denoising photos was, what could best be described, as shite. You had your basic luminance noise slider which worked by blurring the noise away. You had your colour noise slider which tried to preserve brightness levels while disguising the colour noise. And you had your ‘detail’ preservation which used edge detection to try and stop the luminance and colour noise sliders from making it look like you shot your photo through a heavy fog, with a Durex Invisible Close Fit condom stretched over the lens.
Before AI, traditional noise reduction was mostly effective only for images with the kind of modest noise levels that never really needed denoising anyway. When faced with raging high ISO shots, those made 6400 or 12800 ISO astro images, the results were borderline insulting.
Traditional algorithms couldn’t distinguish between similar-looking noise and actual image detail, leading to that plasticky, over-smoothed look when pushed too far.
So when TopazLabs released the first commercially available AI denoising tool it was nothing short of a revelation. If you’re anything like me, you probably spent hours finding knackered old bin-worthy high ISO images and running them through the software to see if you could save your noisiest images.
AI denoising tools now dominate the top-selling feature lists on major photo editing software marketing websites. They are employed in nearly all good photo editors, except Capture One, because they prefer photographers to partake in the nostalgic joys of pixel-peeping, crying softly, and developing intimate relationships with third-party plugins instead.
But maybe the Capture One developers onto something – in the same way that DxO are with their non-AI masks? Can all this AI actually be … a bad thing?
The tl;dr is this – yes my friend – it can. But at the very least, the truth is that you’re probably over-doing it. There is a strong case for tempering the use of contemporary denoising tools on your photographs and plentiful evidence to suggest that we should tailor our workflow to specific outcomes. Rather than utilising a one-size-fits-all approach we need to tweak the output to suit the medium.
Social Media
When it comes to the billionaire owned social media platforms, the answer to the question ‘how much denoising do I need’ is simple – you almost certainly don’t need to do any denoising at all. The reason for this is simple – the image storage demands on a company like Meta are so mind-bogglingly vast that they compress the absolute fuck out of your image.
Furthermore nearly all social media users view their feed almost exclusively on mobile devices, not desktops with OLED monitors and heaps of screen real-estate. And on screen sizes as small as most smartphones the noise you stress about in your photos will literally be invisible.
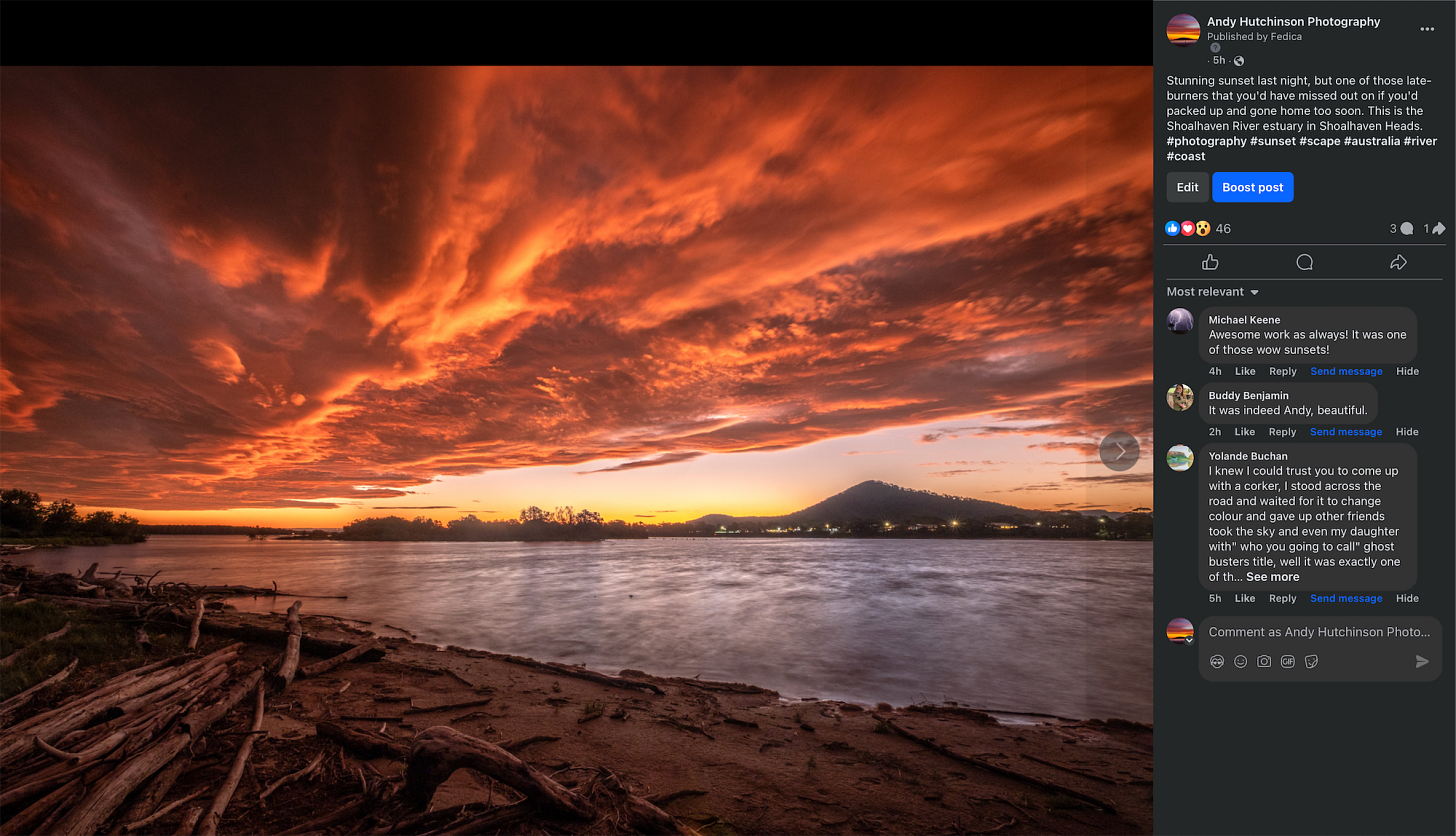
For the small percentage of people that do view it on desktop, the noise won’t be completely invisible, but the loss of detail and introduction of compression artefacts will steal the show, so don’t worry about it. If anything, the noise present in the photo you upload to social media might actually help your image retain detail when compared to a heavily denoised image.
You should abandon all pretence about image quality when uploading to a platform like Instagram, because with that level of compression, at that screen size, on mobile devices, the only thing that actually matters is colour.
Get your colours punchy, and your image survives. Everything else? Noise, sharpness, micro-contrast — sacrificed at the altar of Zuckerberg’s planet-warming city-sized global server farm. Your photo’s going to be viewed for a second at best anyway – so go for shock and awe and abandon all pretence at quality. That said, if you have large regions of similar colours (i.e. an expanse of blue sky) then do some light denoising in order to avoid compression defects or banding.
If you’re uploading to the new specialist photo-focused social media platforms then you’ll want to share much higher quality images.
Glass and Foto both support high resolution images, and Glass in particular supports the P3 wide colour gamut.
Bluesky (and therefore Flashes) is more like Instagram with a platform-wide enforced maximum image file size of 1Mb – if you upload images exceeding that 1Mb limit they’ll get automatically compressed to meet the requirement.
For optimal display on Bluesky/Flashes, consider using images with resolutions around 1200 on the long edge.
Pixelfed compression varies depending upon which server you’re on, but for example pixelfed.social has a surprisingly generous 15Mb limit, so you’ll want to upload a higher resolution denoised image.
Online Portfolio
Many photographers have an online portfolio that they use to showcase their photographs with a view to selling prints or, in the old pre-AI days, attracting clients for wedding, product, advertising or event work. And obviously having great looking images on that portfolio is crucial – it’s your shop window after all – and you want it looking as pristine as possible.
That does not mean that you should be dialling the AI denoise slider up to 100% in order to eradicate all the noise and artefacts from your shot. In fact if you’re a wedding photographer then some grain in an image is often a highly desirable trait.
For your portfolio shots you’ll need to take a balanced approach – presenting clean and professional looking images, with ones that preserve the detail and let potential clients understand that you’re able to take sharp looking shots.
For night-time shots taken at high ISO you might want to use an aggressive denoising setting – one that really pushes your AI denoiser as this will significantly improve its web presentation.
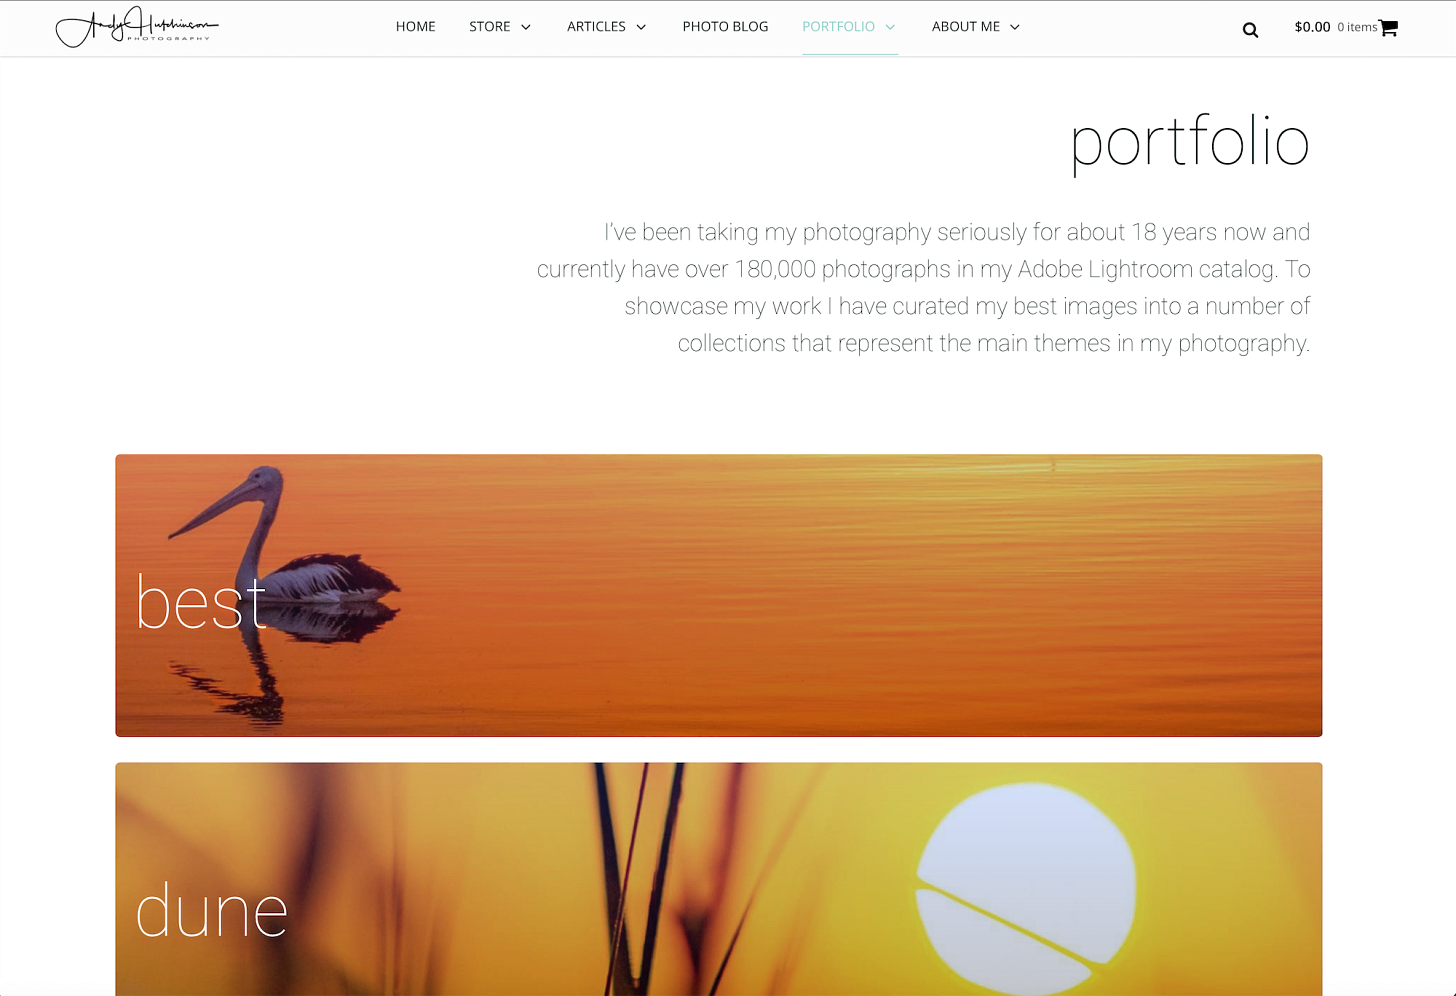
For everything else I suggest you try a series of outputs at different strengths, but more importantly, with different detail settings – so that you can dial in the right balance of noise and detail retention. Ensure that visitors to your portfolio can view your images at full size or all that hard work will be wasted. Take your time with it – it’s all going to benefit you in the end after all.
Once you’ve denoised your image (always the first stage in the post-processing workflow) and run your other post-processing changes, you might even consider adding some tasteful grain back into that image – particularly on shots that utilise a funky colour grade such as split tones or crushed blacks. Colour Efex in DxO’s Nik collection does a good job of this.
If you have your own website for your portfolio either on something like a self-hosted WordPress site or a cloud-hosted builder service like Squarespace then make sure to upload at a high JPEG setting (between 9 and 12) so you get the best combination of quality and file size.
If you’re using a subscription online service like Flickr, Glass or WordPress.com, then you have less control, but always upload at the highest possible quality so that any image compression is working from a high quality input in the first place, rather than a compromised and compressed original.
Prints
Then we come to printing and here’s a medium that really requires a nuanced approach. The level of denoising you apply to your photograph will depend on the type of print – photo paper, canvas, acrylic etc, on the type of photo itself and of course on the size of the print.
The silver lining is that print media tends to be forgiving when it comes to noise. The physical process of converting digital pixels into tiny ink dots naturally blends elements together, often masking imperfections that might be obvious on screen.
That doesn’t mean you should ignore noise all together, but there needs to be a balance between getting rid of any that appears under scrutiny – i.e. someone closely eyeballing the print – and maintaining strong detail levels.
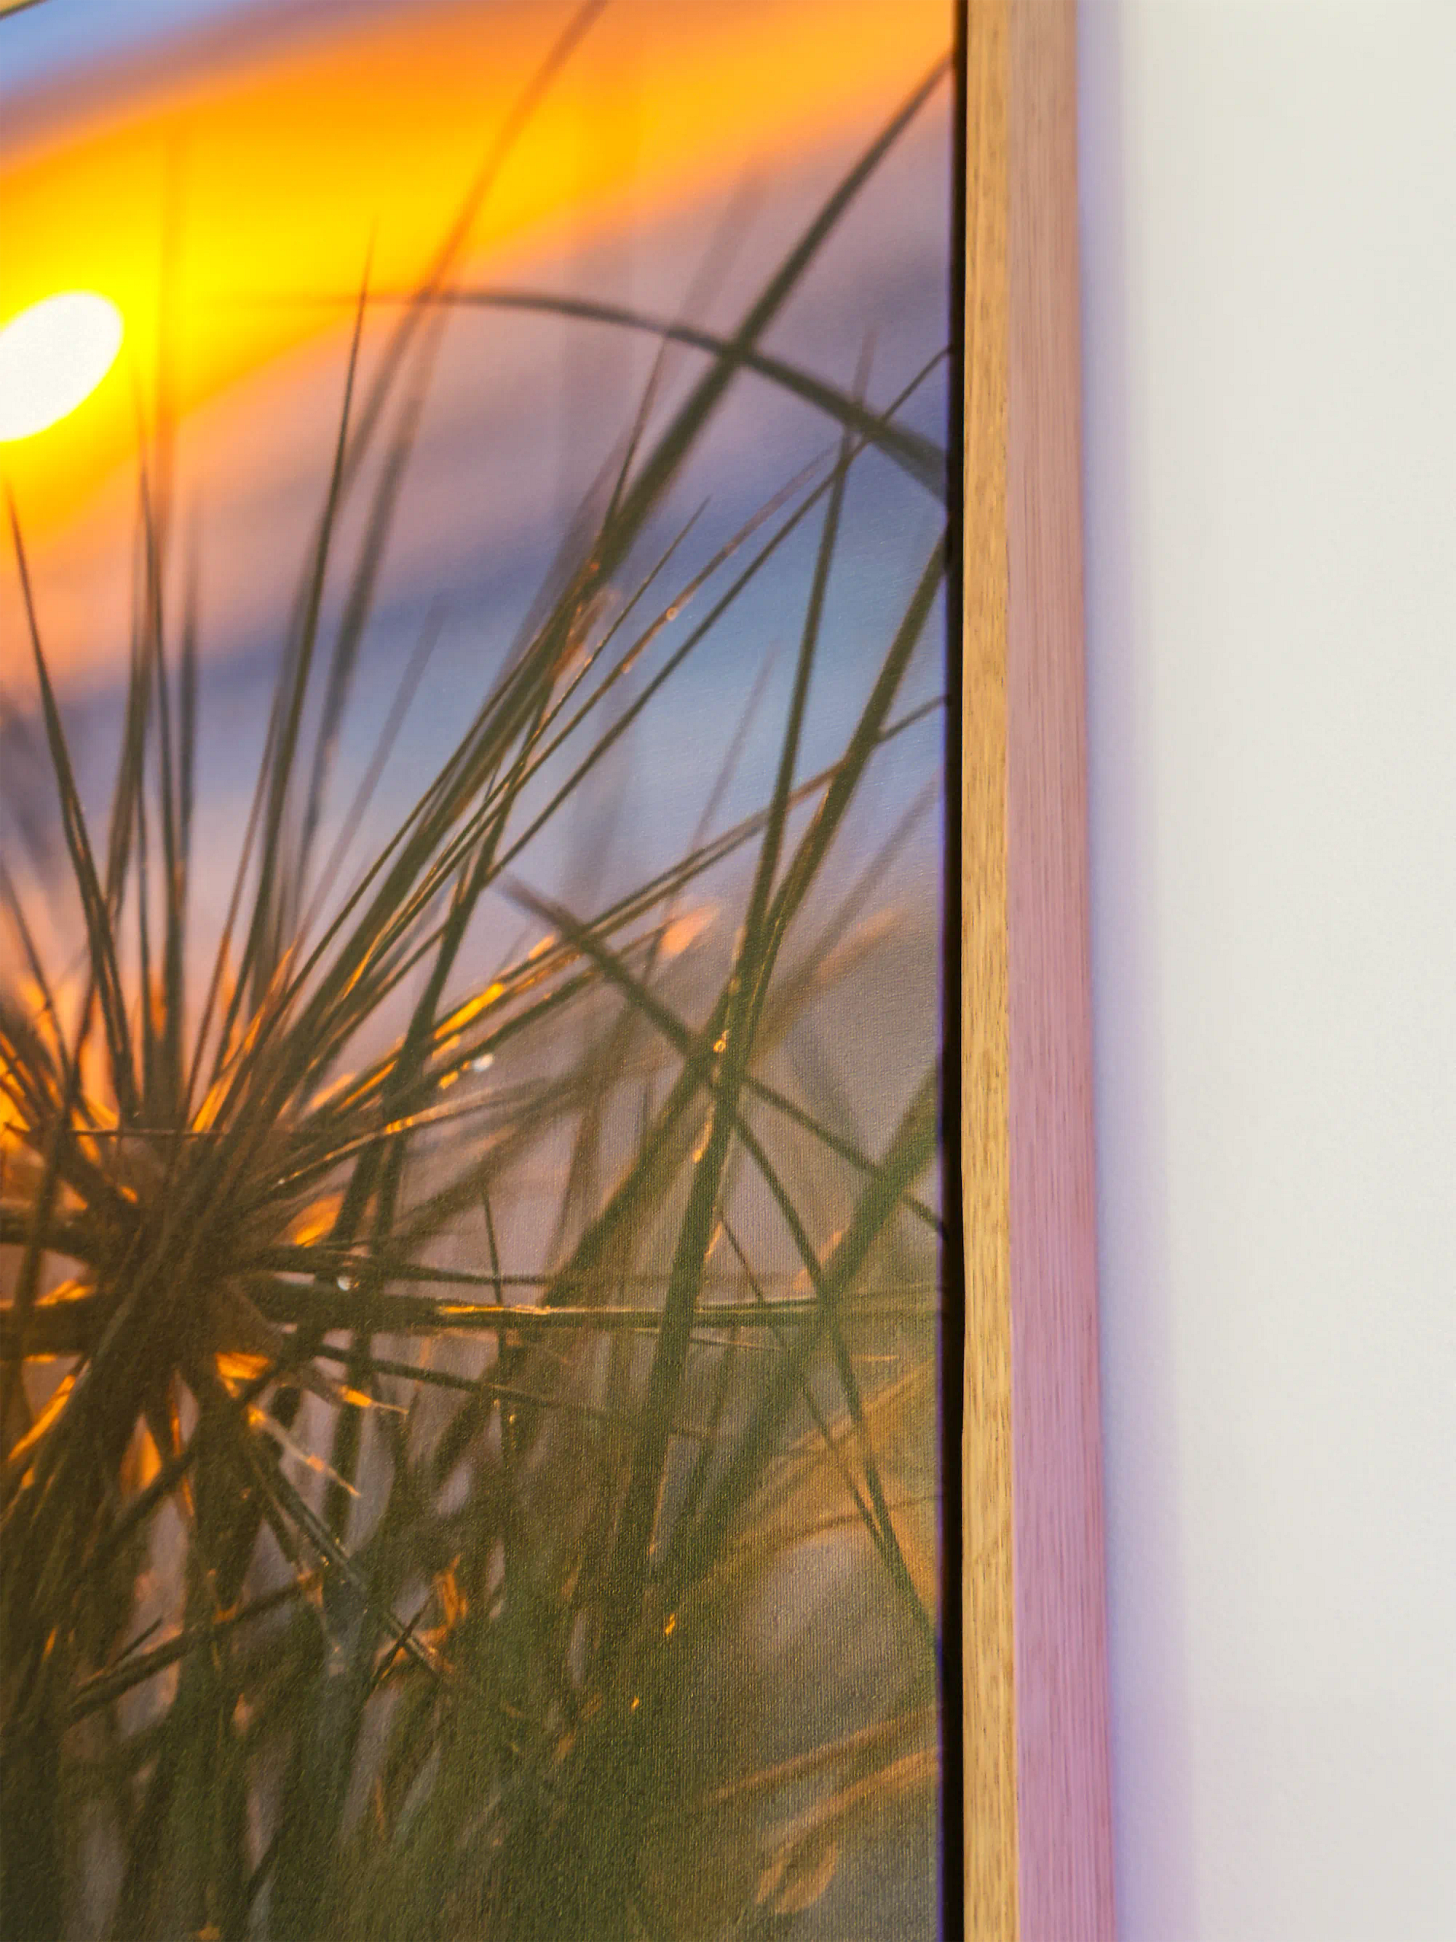
Middle-of-the-road is usually the best option when it comes to denoising for print. ‘Some’ noise will appear like a light grain in an image and this is actually beneficial since it gives the print an authentic looking micro-texture.
Obviously if you shot at very high ISO then you’re going to have to lean into your AI denoising tool to get the job done. But if you are producing prints professionally then you should use something like DxO’s DeepPrime denoising models (in both PureRAW and Photolab), because then you’ll be able to maintain detail.
The key difference between a print and a photo viewed on a screen is distance. Typically speaking people don’t get super-close to prints, they view them from a metre or more away and at that distance you’re not going to notice anything more than very high levels of noise.
So do a test print – on just a portion of the photo – no need to print the whole thing and use up all that ink. Then stick it on the wall and stand back. I’m guessing you’ll stop worrying so much about noise when you view it this way. If you’re printing a fairly small print then noise becomes far less of an issue because everything gets compressed into that small frame.
Also remember that noise manifests differently depending upon the type of print medium you’re using – photo paper, canvas, acrylic or metal. For example the natural weave in a canvas print will completely disguise most levels of noise in an photo.
If you’re getting your prints done by a third party, such as specialist local printer, then speak to them about it – they’re the experts and will give you solid advice about the best approach for that print. Basically, it’s a learning process and you’ll find out over time what the best combination of denoising and printed output is for your style of photographs.
Restoration
Where AI denoising tools really pay off is with something like photo restoration of early digital photos. If you have an old digital photo file, perhaps taken with an old smartphone with a limited resolution and camera, then you can use AI denoising to its fullest extent. If you are restoring an old photo then my advice would be to denoise first and then upscale using something like Topaz Gigapixel.
Meet the Medium
So it’s pretty clear now that if you’re just doing a one-size fits all denoise of your photos then you’re doing it wrong.
If you only ever share on Instagram then you’re just wasting your time – for the size of the screen and for the length of time it will be viewed literally nobody will see the noise.
If you share on the new specialised photo sharing platform – particularly Glass – then you’ll probably want to use a good denoising profile but use one that’s focused on screens, not print.
And if you’re getting your photos printed, then remember that most people will be viewing your print at some distance and you should focus on detail retention over noise removal.
It’s easy to just use these AI denoising tools in a matter-of-fact way, applying similar denoise profiles to all of your images, but a more nuanced approach is required. AI denoising is powerful and when you tailor the settings and the intensity to the medium you’ll get far better results. So before you crank that AI up to 11 and effortlessly eradicate all noise from your photo, consider your destination. Because in noise reduction, context is everything.
Paid Subscribers: hey legends – I have put together a comprehensive guide to denoising on a per application basis for social media, portfolio, print and scans which you can view below. Happy denoising.
The rest of this one’s for paid subscribers.
Already a paid subscriber or a Patron? Enter the members’ password from your welcome email.
Not a member? Subscribe on Substack or leave a one-off tip.
Also published in RAW & Unfiltered on Substack.