Are These The Best RAW Film Simulations Since VSCO?
T
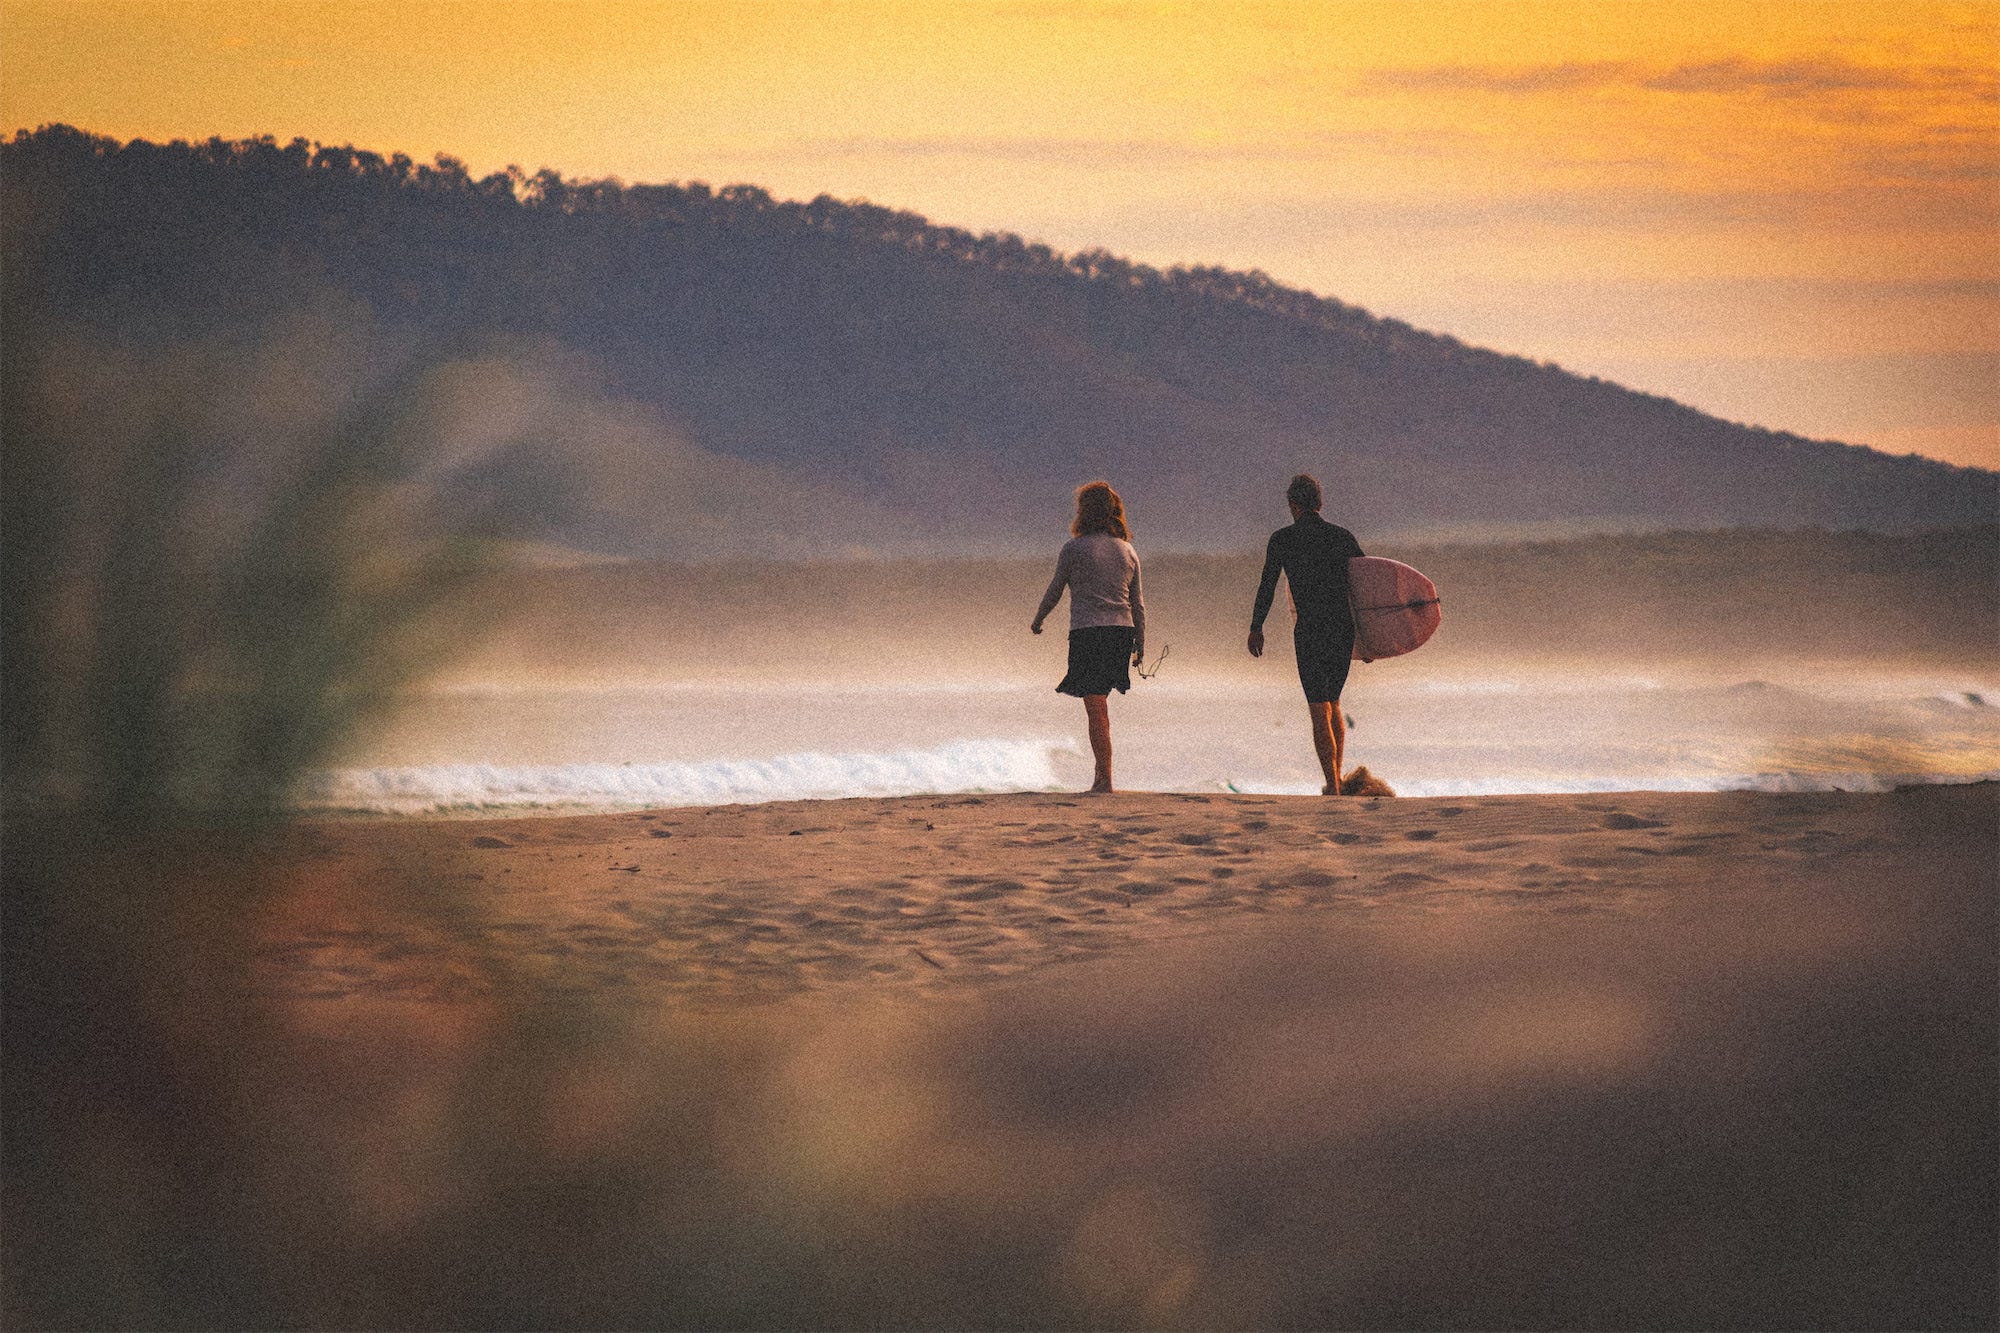
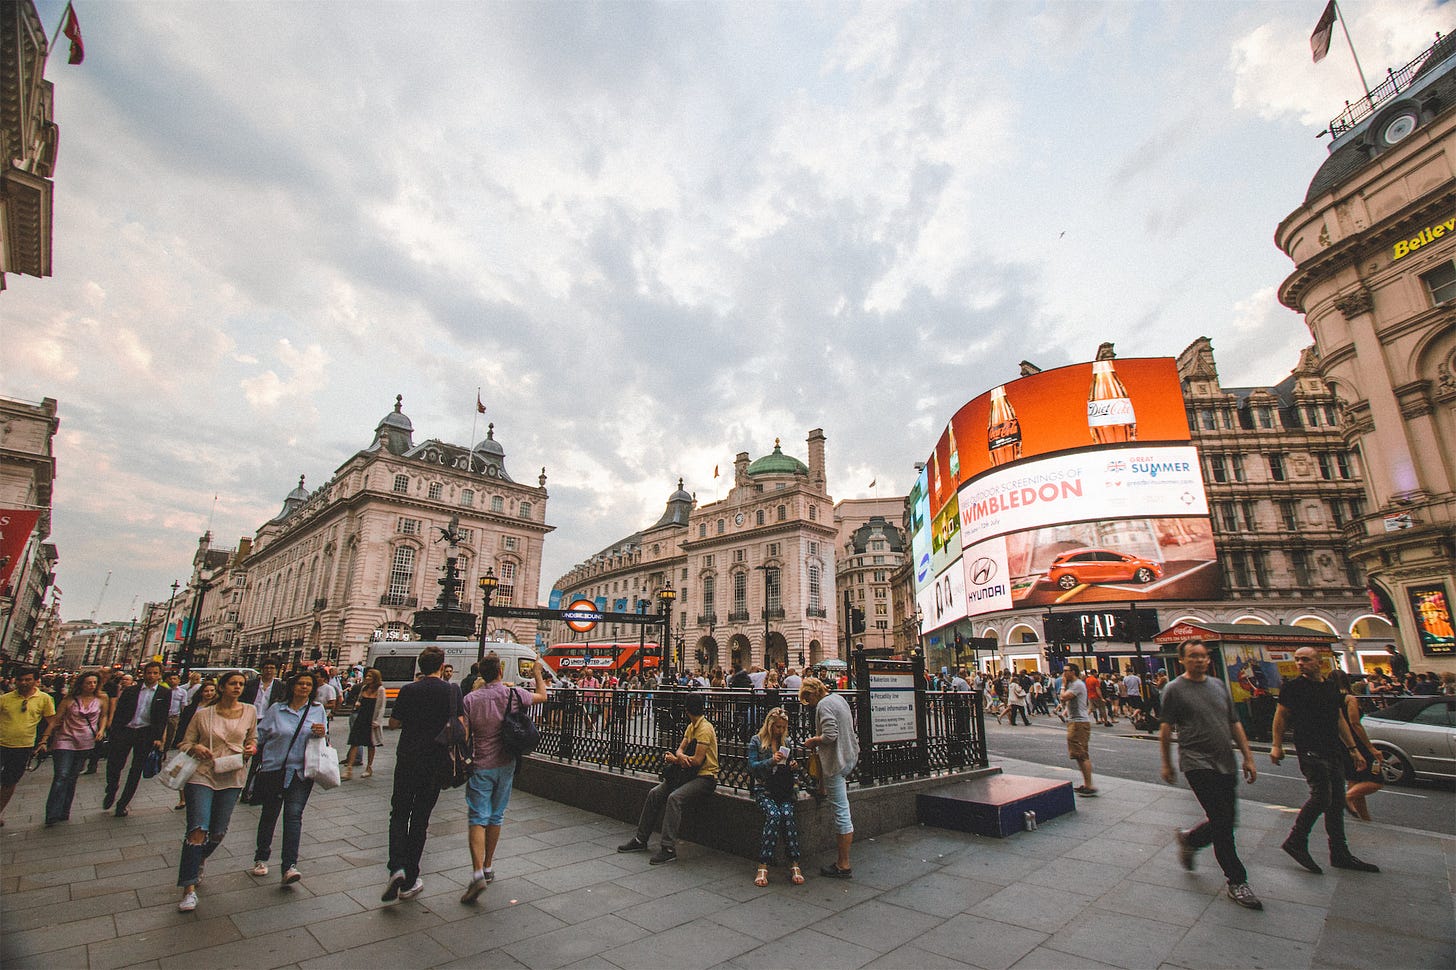
here was a craze, about 15 years ago, for a ‘matt’ look on photographs accompanied with a slight film grain. Photographs posted in this style on Reddit or Flickr back in the day would garner praise, and photographers would bombard the creator with questions about how to achieve the effect. Little did they know that this trendy look was usually achieved very simply by applying a preset made by a company called VSCO.
Across a series of film packs, VSCO redefined what a preset was, combining the power of a colour profile adjustment with tonal curves, camera-specific calibration and carefully tuned grain to create something that felt far closer to a film stock emulation than the one-size-fits-all presets that dominated Lightroom at the time.
The last VSCO film pack was released in 2015 and since then presets have gone backwards. The packs you find being promoted by photography influencers on YouTube are usually little more than collections of slider positions and tone curves, dressed up with cinematic names and jazzy before-and-after thumbnails.
But now with a pushback against that digital look, and a growing interest in old-school analog film photography, there’s a gap in the market for something that takes film emulation seriously again. A company called Color Precision have picked up where VSCO left off.
Emulation Versus Preset
There is a big difference between a proper film emulation and the kind of presets you find photography influencers shilling at the end of their videos.
Presets are blunt tools, a fixed arrangement of sliders that provide wildly differing results depending upon the type of photograph they are being applied to. Novice photographers in particular are often seduced by sexy looking thumbnails and buy those preset packs in the mistaken belief that it will make their photographs look like those thumbnails. Reality usually sets in pretty quickly though. And while Lightroom presets in particular have got a bit better since the arrival of adaptive controls, they’re still not the magic bullet that naive photographers are led to believe.
The vast majority of presets, whether they’re the ones bundled with Lightroom or an add-on pack sold by an influencer, usually effect changes on a photograph that rob it of its natural feel.
Proper emulations are far more involved than a few slider positions and have three elements that work together to create a specific look.
Firstly and most importantly, they work with the sensor colour data using the camera profile itself, remapping the way colours are interpreted before any of the visible editing sliders even come into play. This stage determines the underlying colour response of the image, altering hue relationships, saturation behaviour and the rendering of tones in ways that can’t be replicated by moving sliders around afterwards.
Secondly they use scans of the actual film they’re emulating to capture characteristics that go beyond simple colour shifts. Depending on the system, these scans can contribute structure, contrast behaviour, tonal roll-off and the way detail is softened or rendered across the frame. In many cases the grain itself is optional or applied separately, but the scan data helps recreate the underlying texture and response of the film stock rather than simply laying noise over a digital image.
Thirdly, they add some very basic adjustments, usually small tweaks to the core sliders (exposure, white and black points, highlights and shadows) and occasionally a curves adjustment.
Making these kind of emulations is no small undertaking, which is probably why so few people attempt it and even fewer make a good job of it.
Installation and Use
At this stage, there are two main packs of film emulations available from Color Precision: a Kodak pack and a Fujifilm pack. These have been available for Lightroom for a little while, but Owen Markham (the developer behind these emulations) has just finished porting them over to DxO PhotoLab as well.
Inside the download pack you’ll find three different installation folders: one for the emulations, one for the film effects and one for the AI masking. And inside the emulations folder are installers for Canon D, Canon R, Fuji, Leica, Lumix, Nikon D, Nikon Z, Ricoh and Sony camera RAWs. You can install just the one used by your camera or multiple if you have several different brands of camera.
In PhotoLab the emulations are accessible in two locations: either from the thumbnail style visual presets browser accessed by clicking on the button in the top-right, or in the Preset editor window located in the left sidebar. In Lightroom you access the emulations via the Profiles browser located at the top of the Basic palette. I suggest changing the browser from Grid to Large to get a better visual representation of how the emulation will look if applied to your photograph.
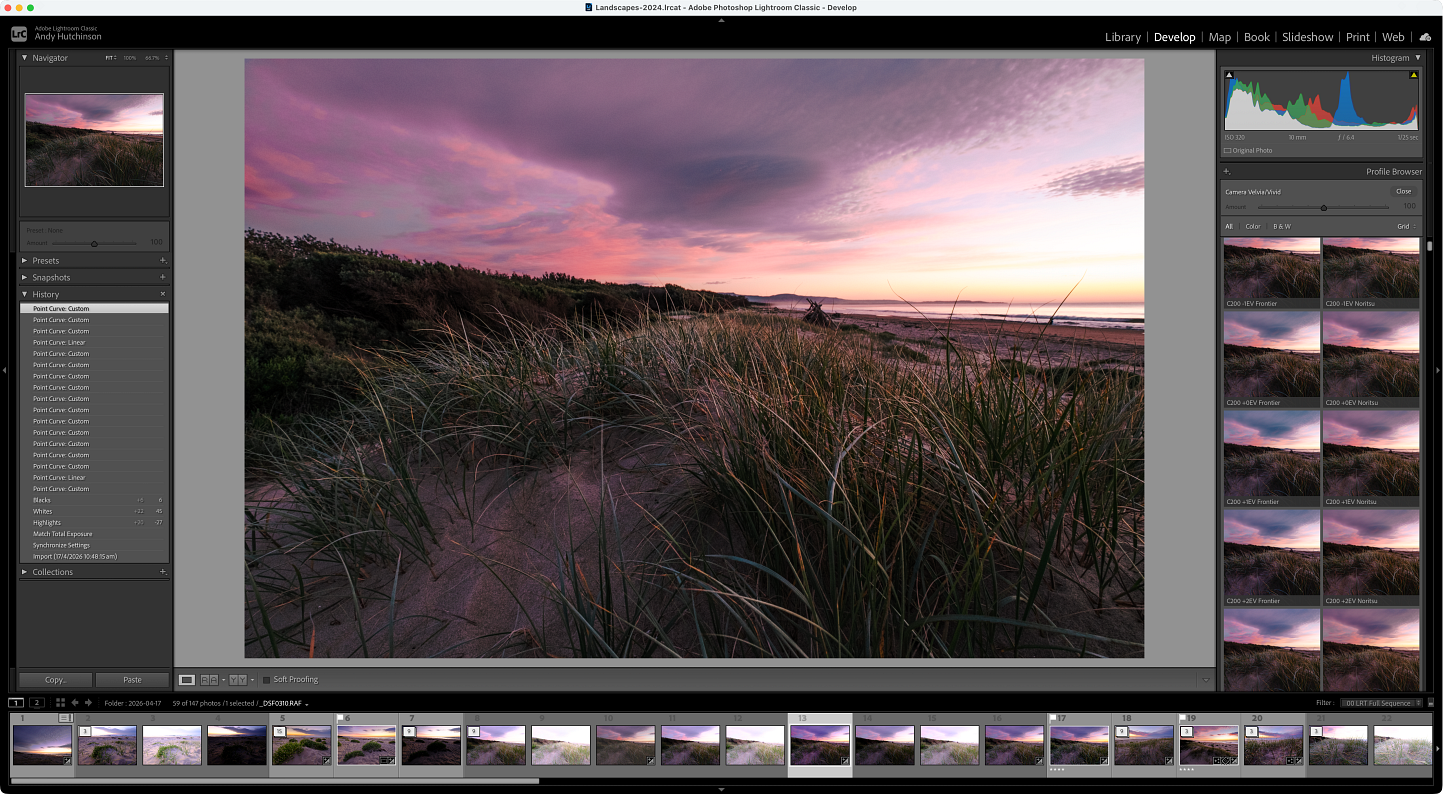
The emulations themselves come in two varieties, Frontier and Noritsu. I’m no film photographer, but these are apparently the two most common film scanners found in most photo labs, and your scanned negative will have different colour and light characteristics depending upon which scanner is used.
Each film type also comes in a variety of exposure compensation variants to further emulate the way exposures are pushed or reduced from the baseline at zero EV. Which means that for each film, you get two scanner versions and for each of those you get four exposure variations.
In addition to those emulations, each pack comes with a couple of AI masking presets and further ‘bolt on’ presets for soft highlights, contrast, film grain, expired film, fade and film blur.
All of which is to say that it’s an extremely comprehensive package that goes way beyond simply selecting a bog standard film look such as ‘Velvia’.
In fact there are so many variations in the pack that doing haphazard test clicks on that long list of preset thumbnails is an unproductive and flawed approach, only marginally more effective than just picking a preset at random. And if your knowledge of what various film stocks ‘look’ like is limited or non-existent, I strongly suggest using the colorprecision.com website, where you can find a film comparison tool. This makes it much easier to narrow down the general look and feel you’re after and you can then experiment with the exposure variants and the bolt-on presets.
Over time you’ll learn which film emulations and scanner and exposure variants work best for you, for your camera and for the type of photographs you take.
The Results
The ‘film look’ is all the rage at the moment and you can find endless videos on YouTube about achieving that look for both video and photographic work. Most of what I’ve seen that claims to show you how to achieve that look with a photograph, and the vast majority of products that market themselves as a short-cut to it, are usually not even close.
And I think the main reason for that is that when you talk about achieving a film look the end user expects a dramatic change, whereas the truth is that genuine film looks are usually a lot more subtle than that.
I tested the Kodak and Fujifilm packs on my Canon, Fuji and iPhone ProRAW files and found the results to be comparable to the quality of the VSCO emulations and comparable to DxO’s FilmPack.
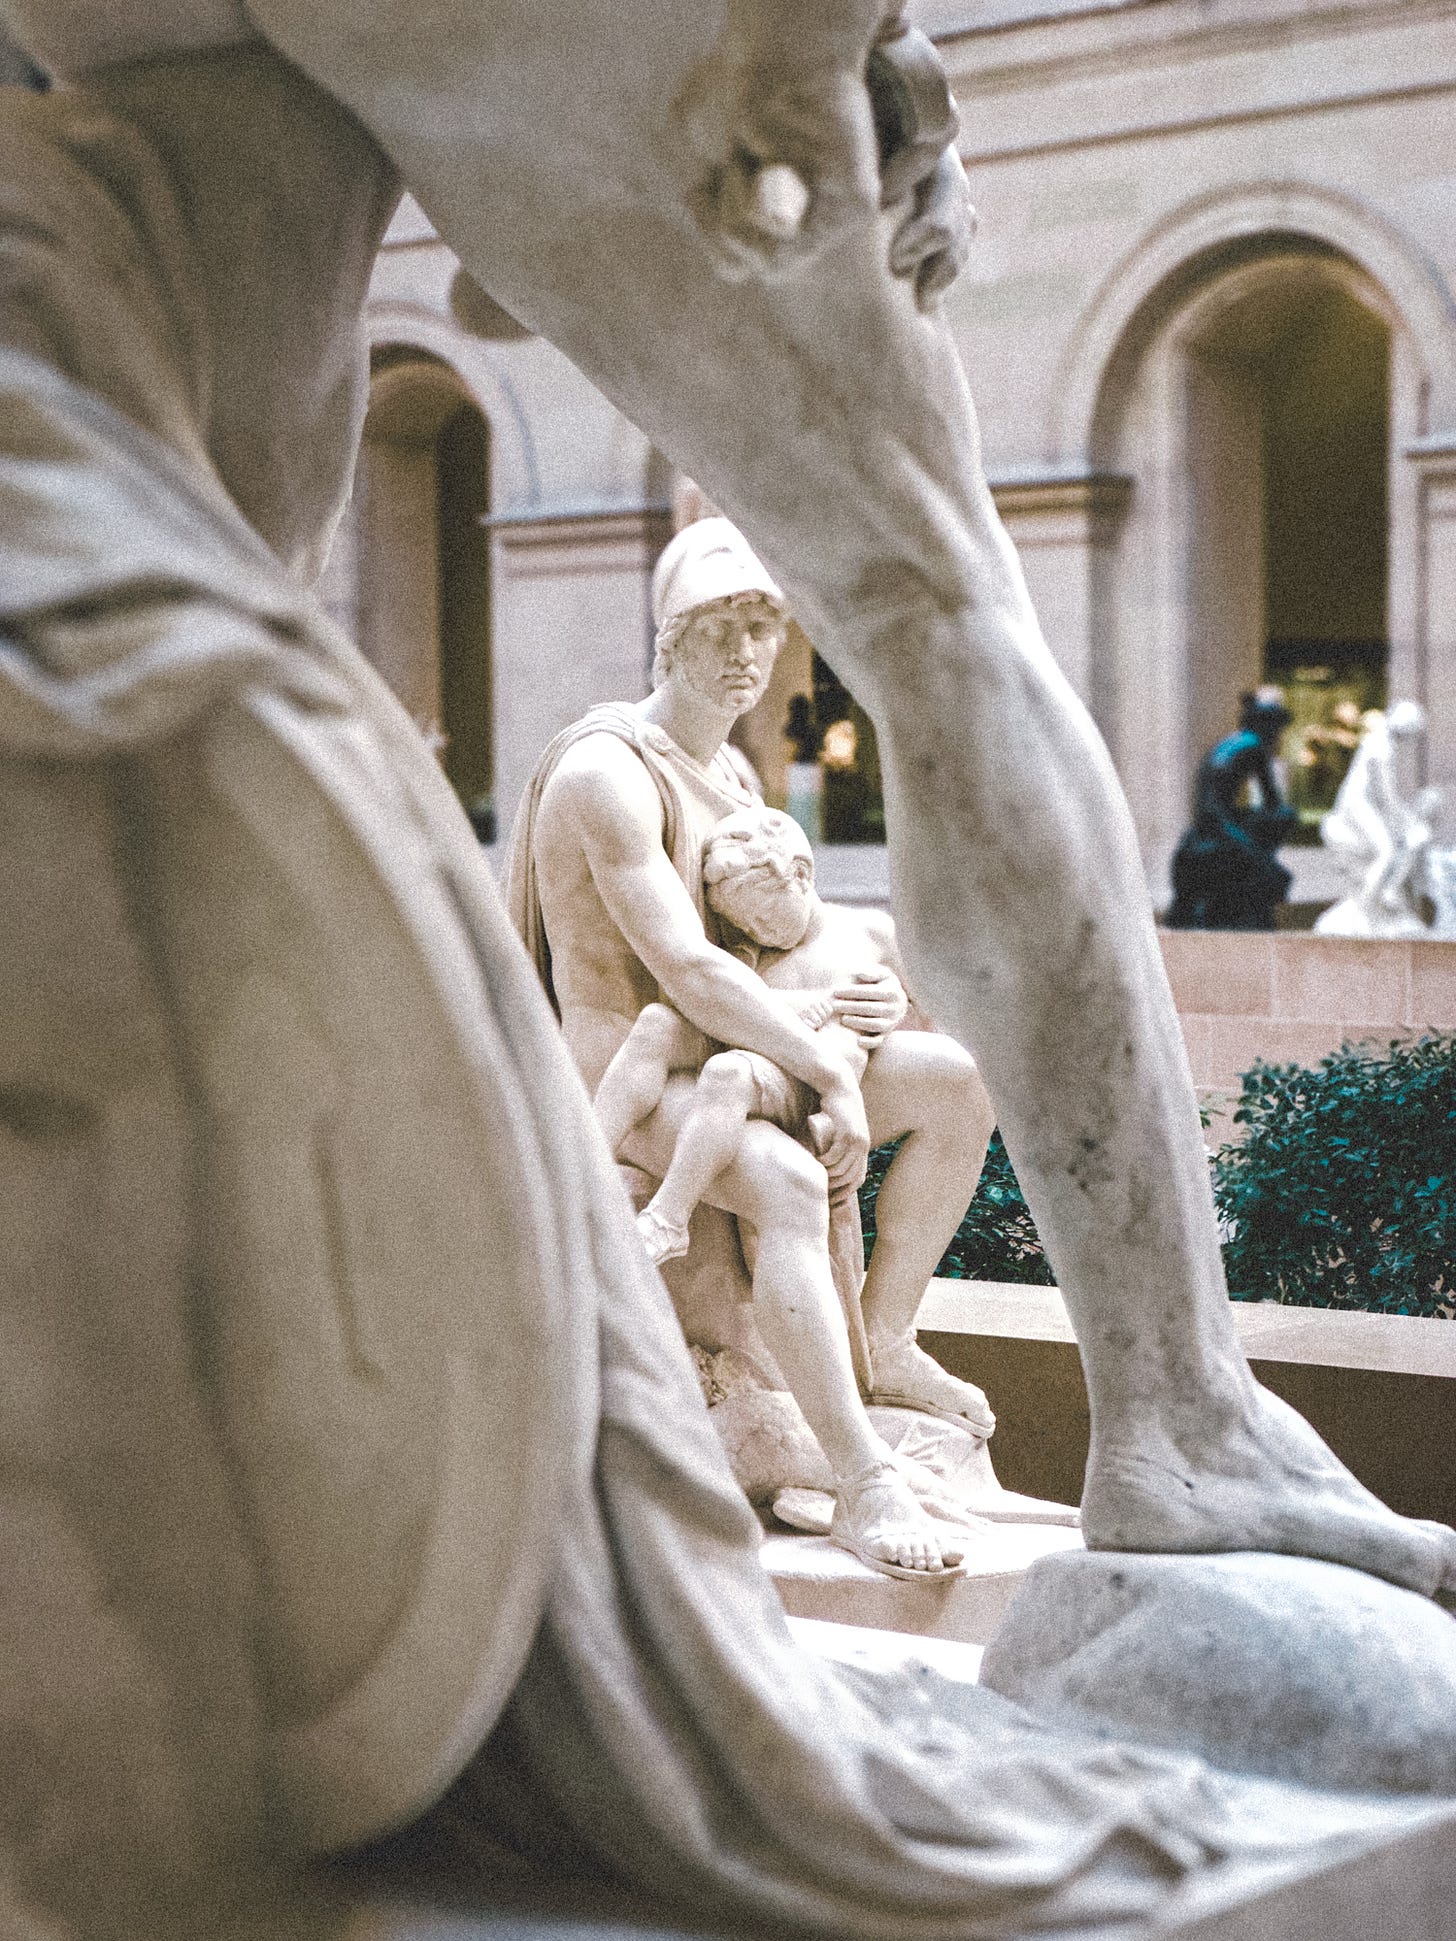
The array of emulations that Owen has bundled together is comprehensive and his attention to detail is evident. My knowledge of film stock, as someone who gave up film photography 30 years ago, is hardly encyclopaedic, but the output results having applied one of his emulations are excellent and the tiered changes across the different levels of exposure compensation were pleasingly distinct, rather than just looking like someone nudged the exposure slider up or down.
I did a heap of my testing on my own landscape, wildlife and cityscape photography, but it was when I tried the emulations out on portrait shots that the quality of the colour science really showed itself. Skin tones, after all, are where off-the-shelf shill-presets fall apart and transform your model into someone with radiation burns, but that was definitely not the case with these emulations.
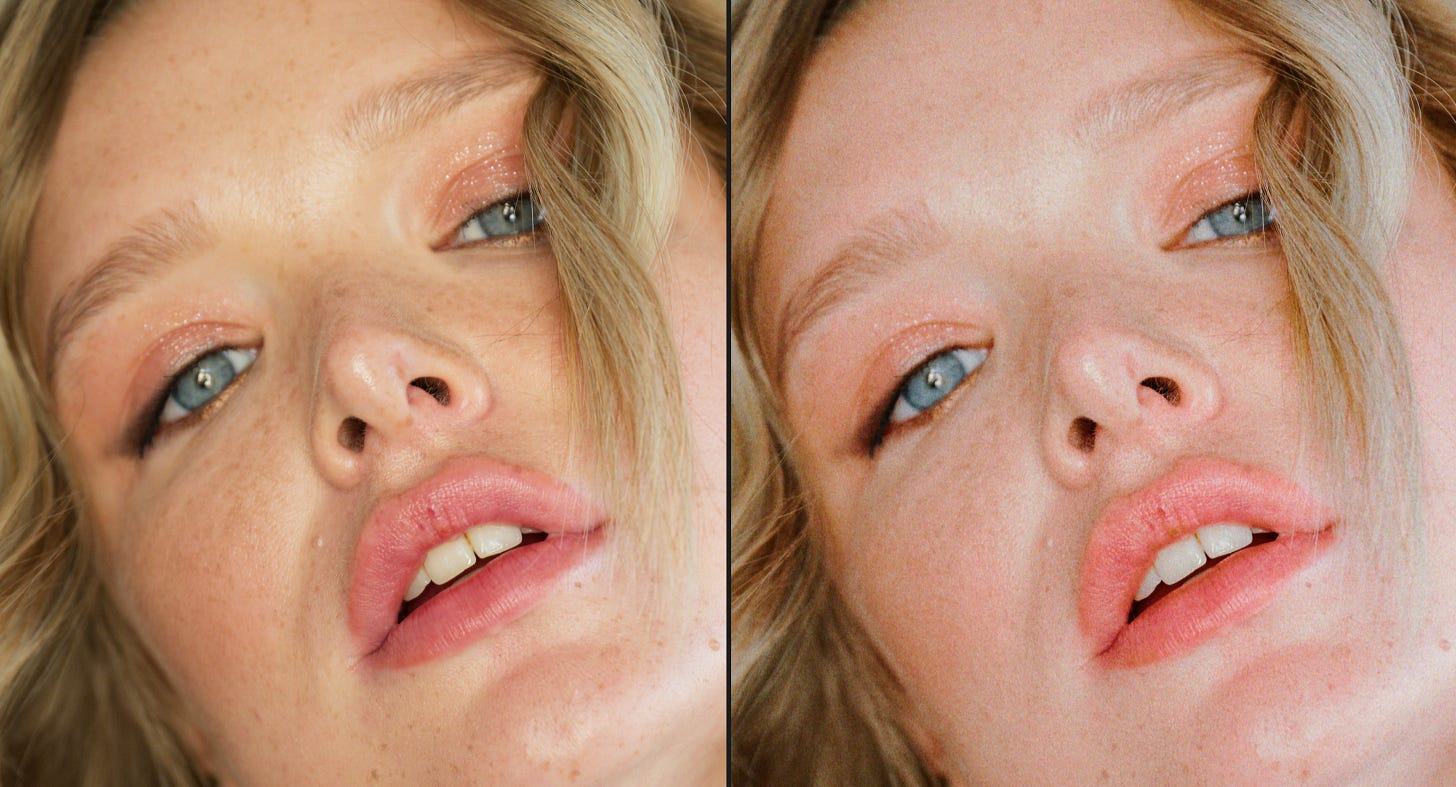
Take a look at this example, processed from a Nikon RAW file. Original on the left, Portra 400 emulation on the right with a dash of chroma film grain. The original has that classic digital look that we’ve all become so accustomed to: it’s a nice shot, but a bit flat, a bit cool and a bit boring. But the Portra emulation has warmed it up, with a touch more saturation in the lips and pleasing tonal transitions across the skin. She looks a lot less jaundiced in the Portra emulation, which is admittedly something you could easily fix in PhotoLab, but this is a one-click deal.
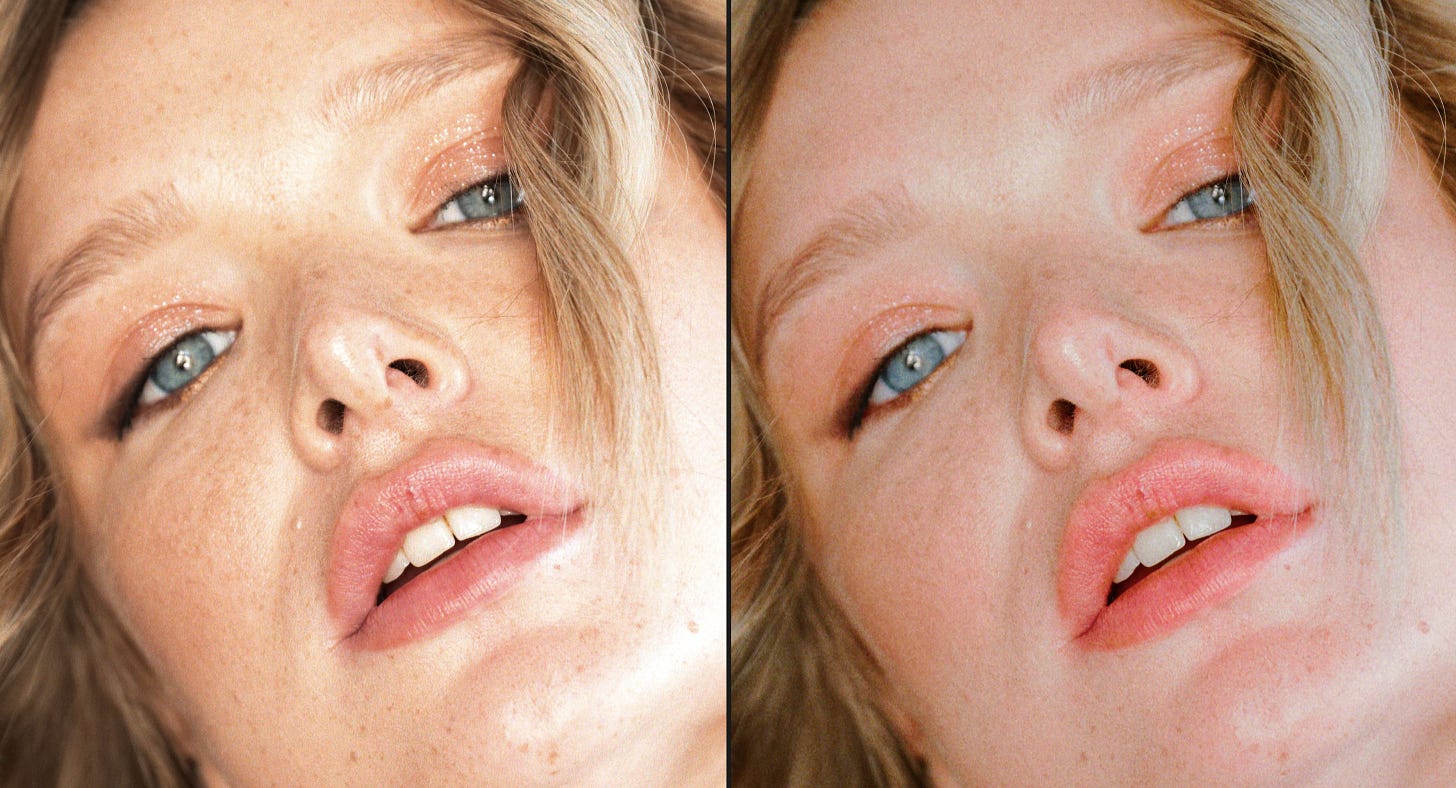
Out of interest I compared the Color Precision Portra against DxO’s version in the FilmPack. I definitely still prefer the Color Precision emulation because it looks more like what you’d actually get back from a lab. The DxO version, for all its technical merits, still looks too digital.
And I think this is a key difference: DxO is emulating the film, but Color Precision is emulating the film and the scan. And that is obviously closer to what most people’s experience of shooting Portra 400 would actually look like.
And in case you’re wondering why I haven’t mentioned Dehancer, it’s because it doesn’t edit RAWs (you have to convert to TIFF) and is therefore not a like-for-like comparison.
Conclusion
I tested Owen’s emulations in both Lightroom and PhotoLab and while some of the extra presets differ slightly, I was able to get broadly similar results in both apps, despite them using completely different demosaicing engines and colour space. I would say that the preset process is simpler in Lightroom, but that’s hardly his fault, simply the design of the preset system in PhotoLab.
There is no faulting the quality of these multi-layer emulations. Given that he’s done this work on his own and that it’s comparable to the work done by DxO in FilmPack, it’s an impressive achievement.
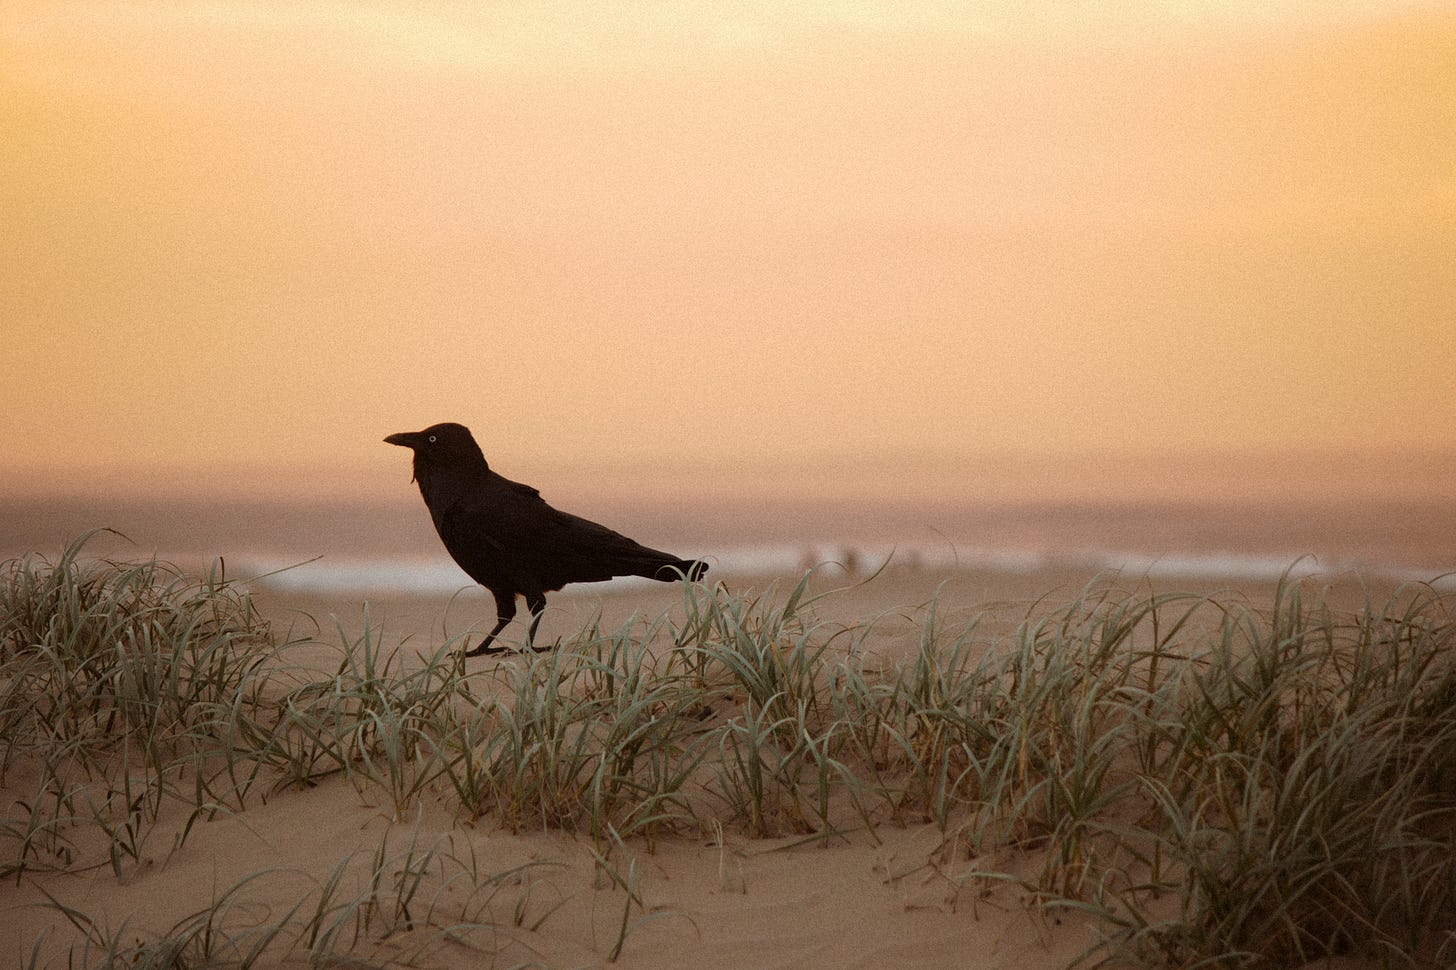
The main audience for packs like this are portrait and wedding photographers who want a consistent film look across mixed camera setups, and in that regard they definitely get the job done. They work well on travel and street photography too, but if your thing is wildlife or landscapes, they’re less of a natural fit.
The installation process is decidedly clunky, requiring myriad different installers rather than a single process, and for the price of these emulation packs, customers might reasonably expect something more streamlined.
And that brings us around to the thorny subject of pricing, which is definitely on the steep side. I understand that these are tools pitched primarily at professional photographers, but even so, $128 per film pack is on the high end. And that pack is only good for a single application (Lightroom, Capture One or PhotoLab) not for all three.
But pricing grumbles aside, these are the real deal. In a market drowning in influencer preset packs that promise the world and deliver a tone curve, Color Precision is doing the actual work. And if you’re a portrait or wedding photographer who’s been chasing that film look with presets that never quite get there, this is probably the closest you’ll get without loading a roll of Portra into an actual camera.
Owen, if you’re reading this, I’d sort out that installer and maybe think about a multi-app bundle.
Also published in RAW & Unfiltered on Substack.